Animate a Wing: Sway vs. Displacement
Animate a transparent wing PNG in SVGA DIY. Compare root-anchored Sway with Wing flex displacement, tune the strength axis and bending, then export an SVGA.
A wing can move without looking as though it is flapping. Sway rotates the whole image around an anchor. Displacement → Wing flex changes its shape locally, so the outer feathers can flex while the root stays comparatively still.
Here is the same PNG, at the same scale, with a 1.5-second cycle on each side. Look at the curve of the long feathers, not just how far the tip travels.
This is a stylized 2D flap, not a 3D wing rig. The useful difference is that movement no longer has to treat the entire PNG as one rigid piece.
Before you start
Use the desktop SVGA editor. Basic editing and Sway are free; adding, editing and exporting Displacement requires an active Pro subscription. The screenshots use the English interface in Dark mode.
- Download the transparent wing PNG — 512 × 512, generated for this tutorial.
- Optional playback references: Sway SVGA and Wing flex SVGA.
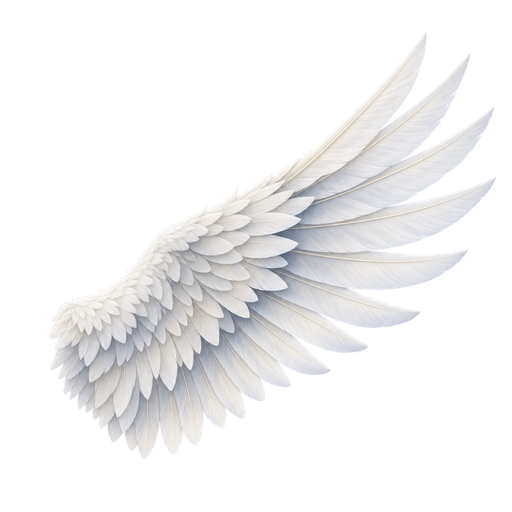
Start with the PNG to reproduce the editable setup. The exported SVGA files contain the finished animation, not the editor's original effect controls.
1. Create a blank SVGA
Click New SVGA in the empty preview. Name the document wing-study, choose 500 × 500, and leave FPS = 20 and Total frames = 60. Click Create. The document lasts three seconds.
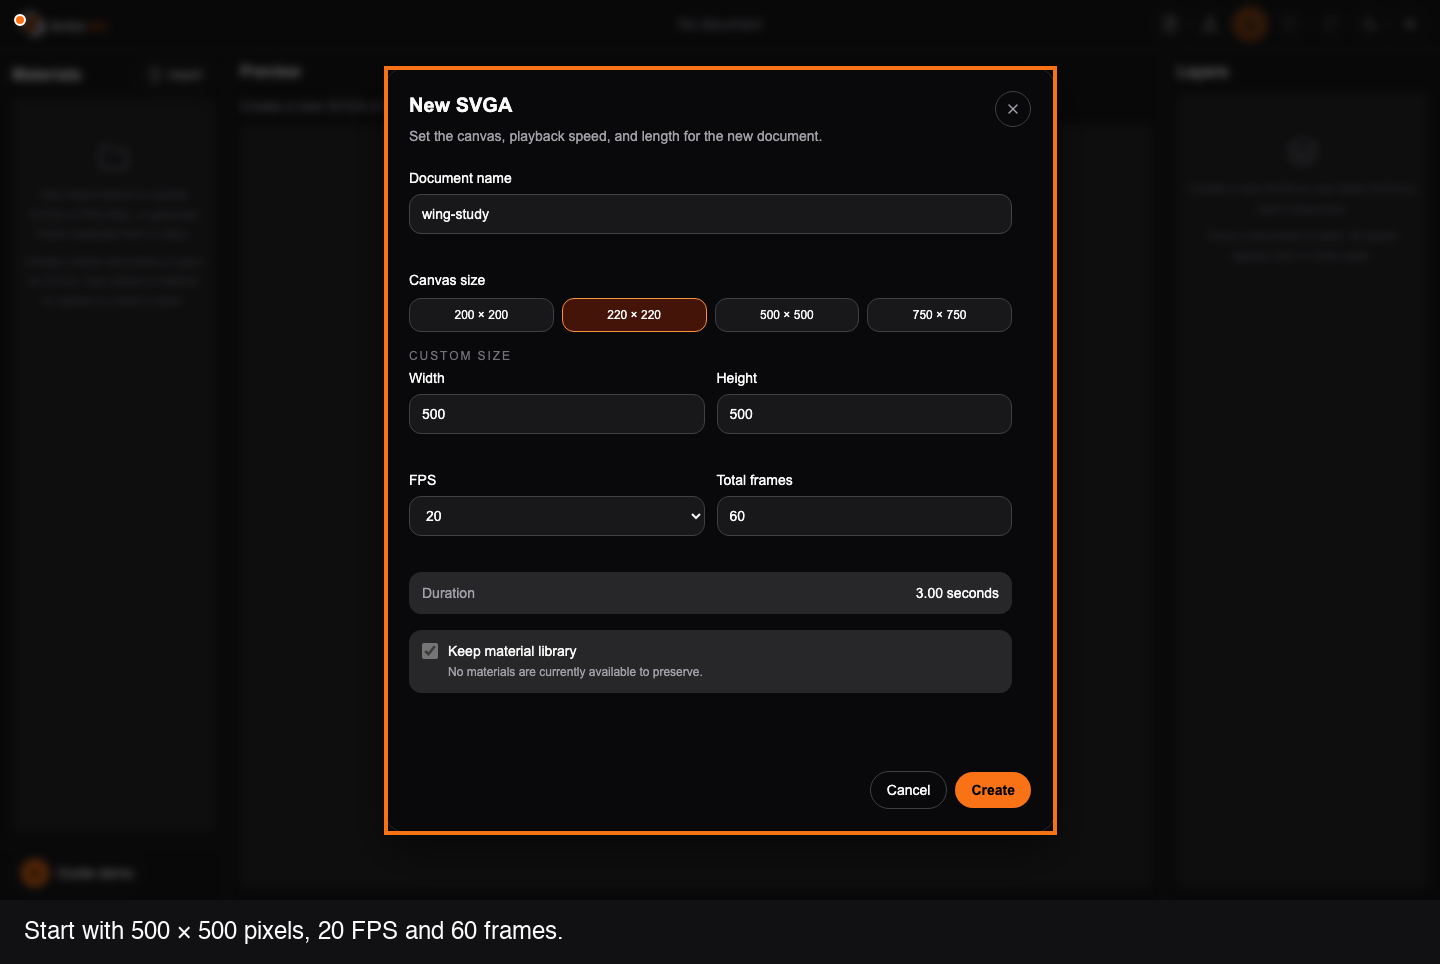
For the same viewing conditions as the screenshots, open the moon/sun theme menu in the top toolbar and select Dark.
2. Import the wing and add it to the canvas
Open Import Materials → Local assets, then use Import PNG files to choose wing.png. Select wing.png in Materials and click its Add to layers button. A layer named wing appears on the right.
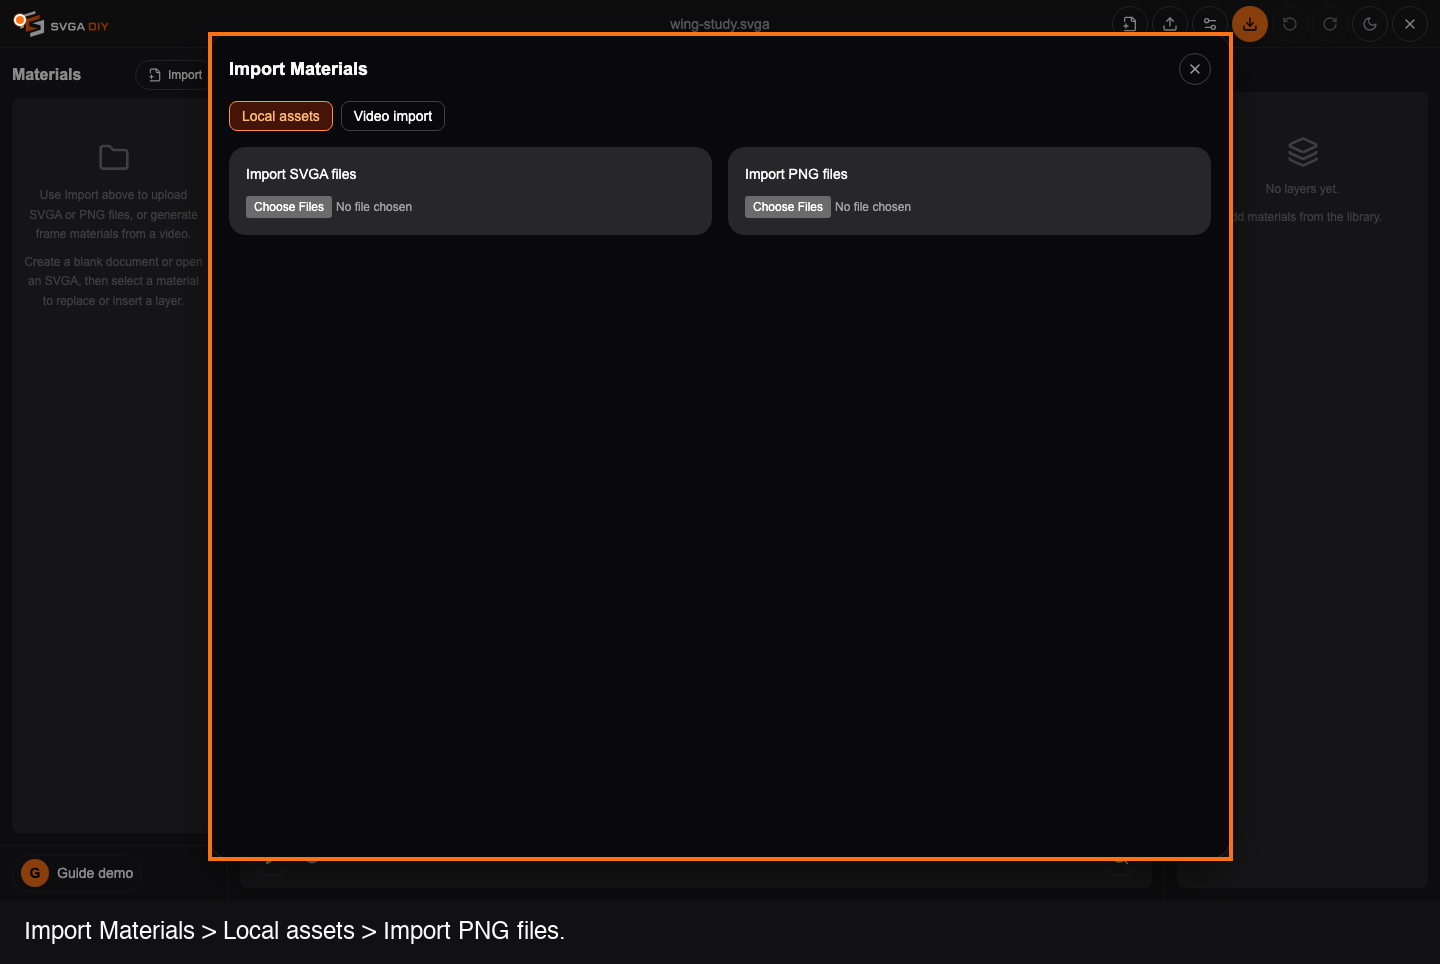
Use the supplied 512-pixel file for these settings. Reducing a layer's display scale does not reduce the source image's resolution or the memory needed to generate displacement frames.
3. Leave room for the moving tips
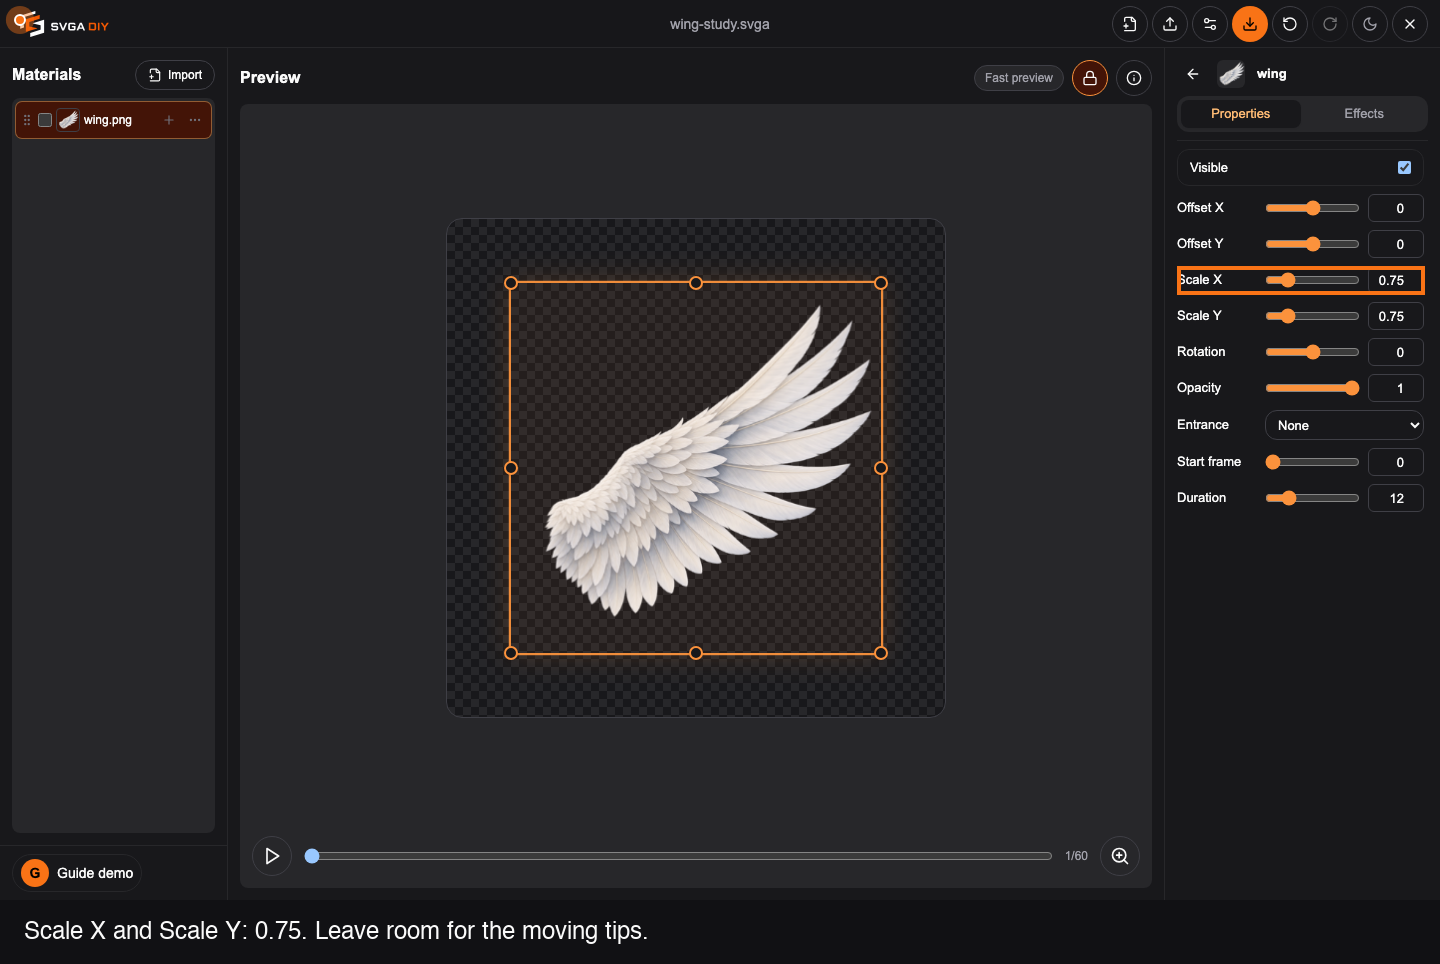
Click Edit wing in the layer row. In Properties, set both Scale X and Scale Y to 0.75. Press Enter after typing each value. Keep the offsets at zero.
4. Add Sway with its anchor at the root
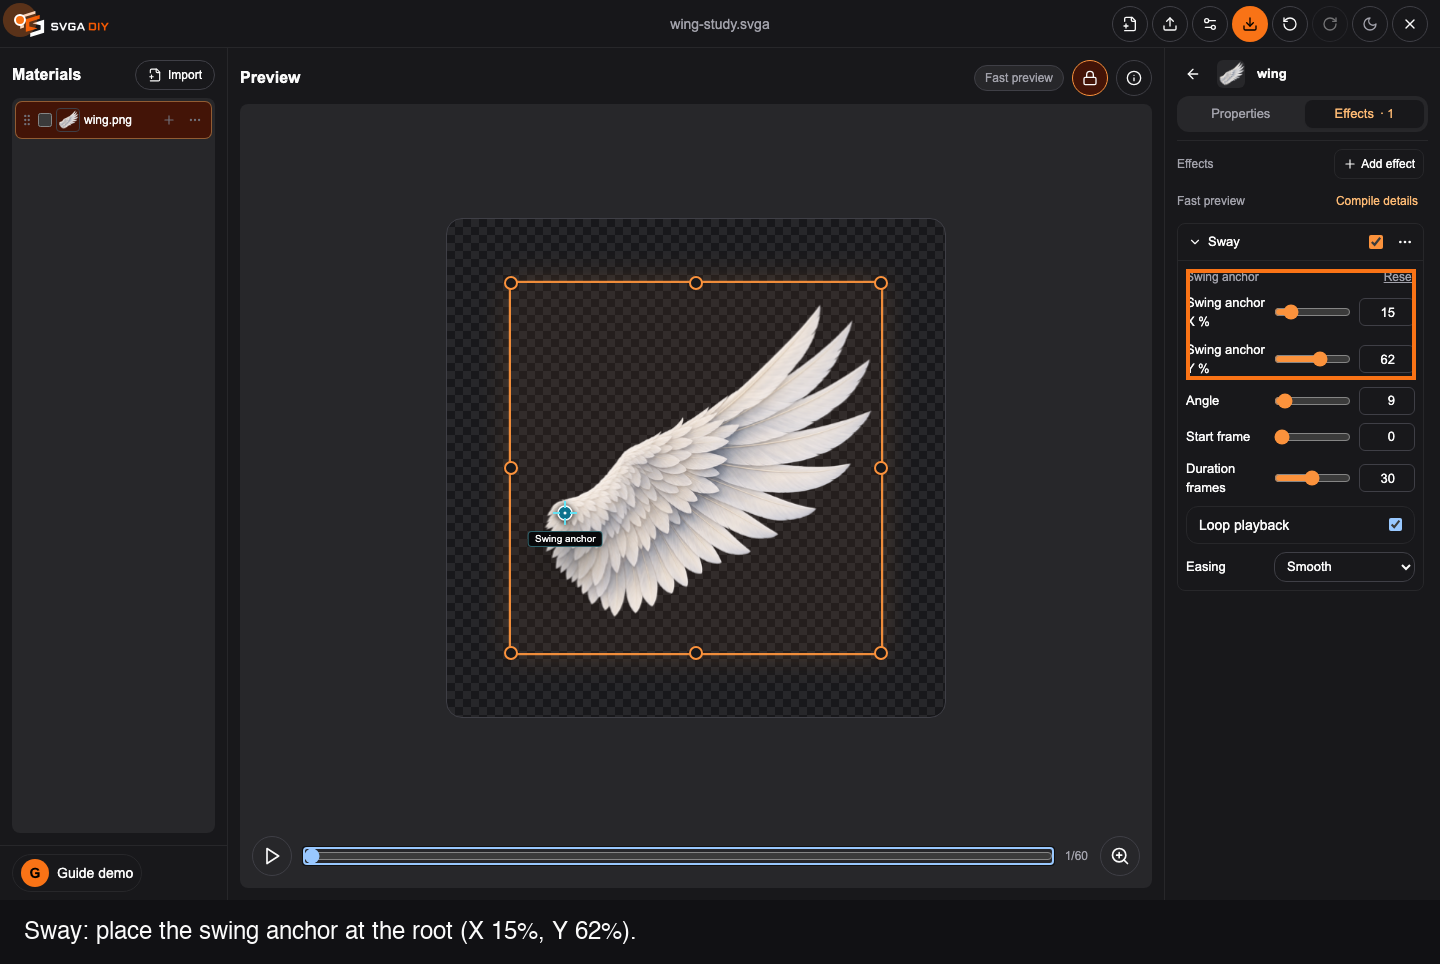
Open Effects → Add effect → Sway. Set:
- Swing anchor X: 15%
- Swing anchor Y: 62%
- Angle: 9°
- Start frame: 0
- Duration frames: 30
- Loop playback: On
- Easing: Smooth
The blue Swing anchor should sit on the thick root at the lower left, where the wing would attach to a body. These percentages refer to the whole PNG rectangle, including its transparent margin. For a different image, place the anchor visually instead of copying the percentages.
5. Play the Sway baseline
Press Play. At 20 FPS, 30 frames make a 1.5-second cycle. The wing rotates about its root, but the feather shapes and their relative arrangement stay rigid.
Pause before changing effects. You can export this baseline now if you want your own comparison file.
6. Switch from Sway to Wing flex
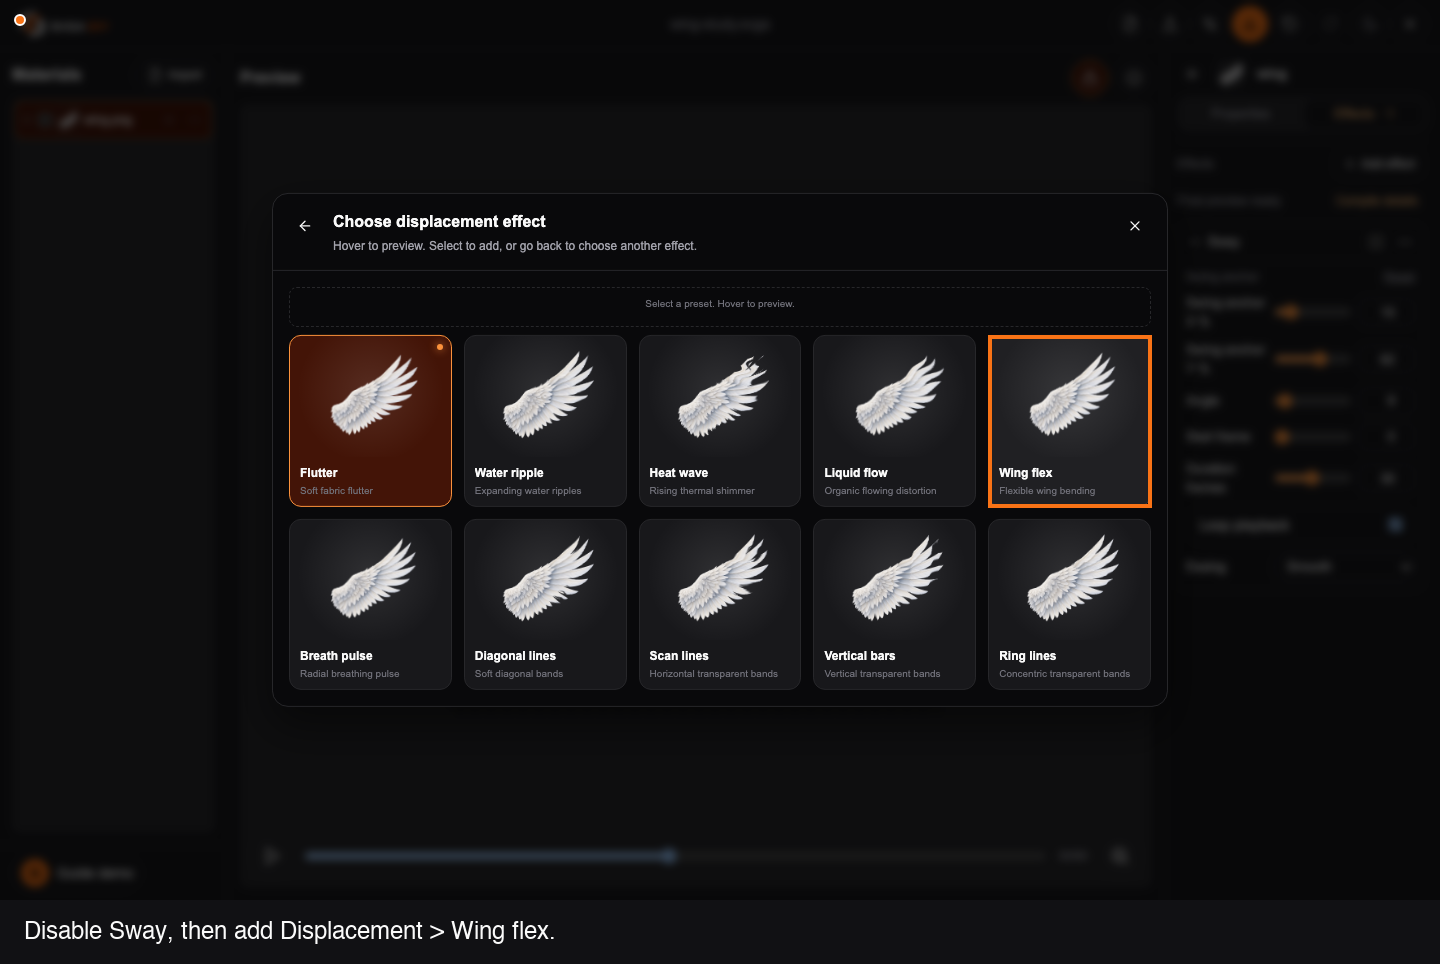
Uncheck Enable Sway on the Sway row. Keep the effect in the list so you can compare later, but leave it disabled.
Choose Add effect → Displacement → Wing flex. In the preset dialog, hovering over a card previews it with your material; clicking applies it.
7. Set the displacement starting point at the root
With Displacement expanded, the canvas shows an orange dashed line with 0 and 100 endpoints. This is the strength axis:
- Drag 0 onto the same root used for Sway, around X 15%, Y 62% of the image.
- Drag 100 toward the outer feather region, around X 88%, Y 22%.
The strength grows along this line from no displacement to full displacement. Pointing it from root to tip keeps the attachment area steadier while allowing the outer wing to move more.
The blue Pattern center is a separate control: it shifts where the displacement pattern is sampled. It is not the Sway pivot or the orange 0 endpoint. Leave Pattern center X/Y at 50% for this example.
8. Tune a broad, flexible flap
Use these starting values with the supplied PNG, pressing Enter after each numeric edit:
- Horizontal strength: 18 px — Modest sideways bending
- Vertical strength: 70 px — The main flapping motion
- Wavelength: 3 — A broader bend rather than tight ripples
- Speed: 0.4× — A 30-frame cycle in this effect, matching the Sway comparison
- Angle: −25° — Orient the pattern toward this upward-sloping wing
- Pattern center X / Y: 50% / 50% — Leave the pattern center unchanged
- Smoothness: Ultra — Use the highest available sampling setting
Leave Keep contour (Inside) off so the silhouette can change. Also leave Use map alpha, Use grayscale as alpha and Dimensional lighting off; this example is about bending the original feathers.
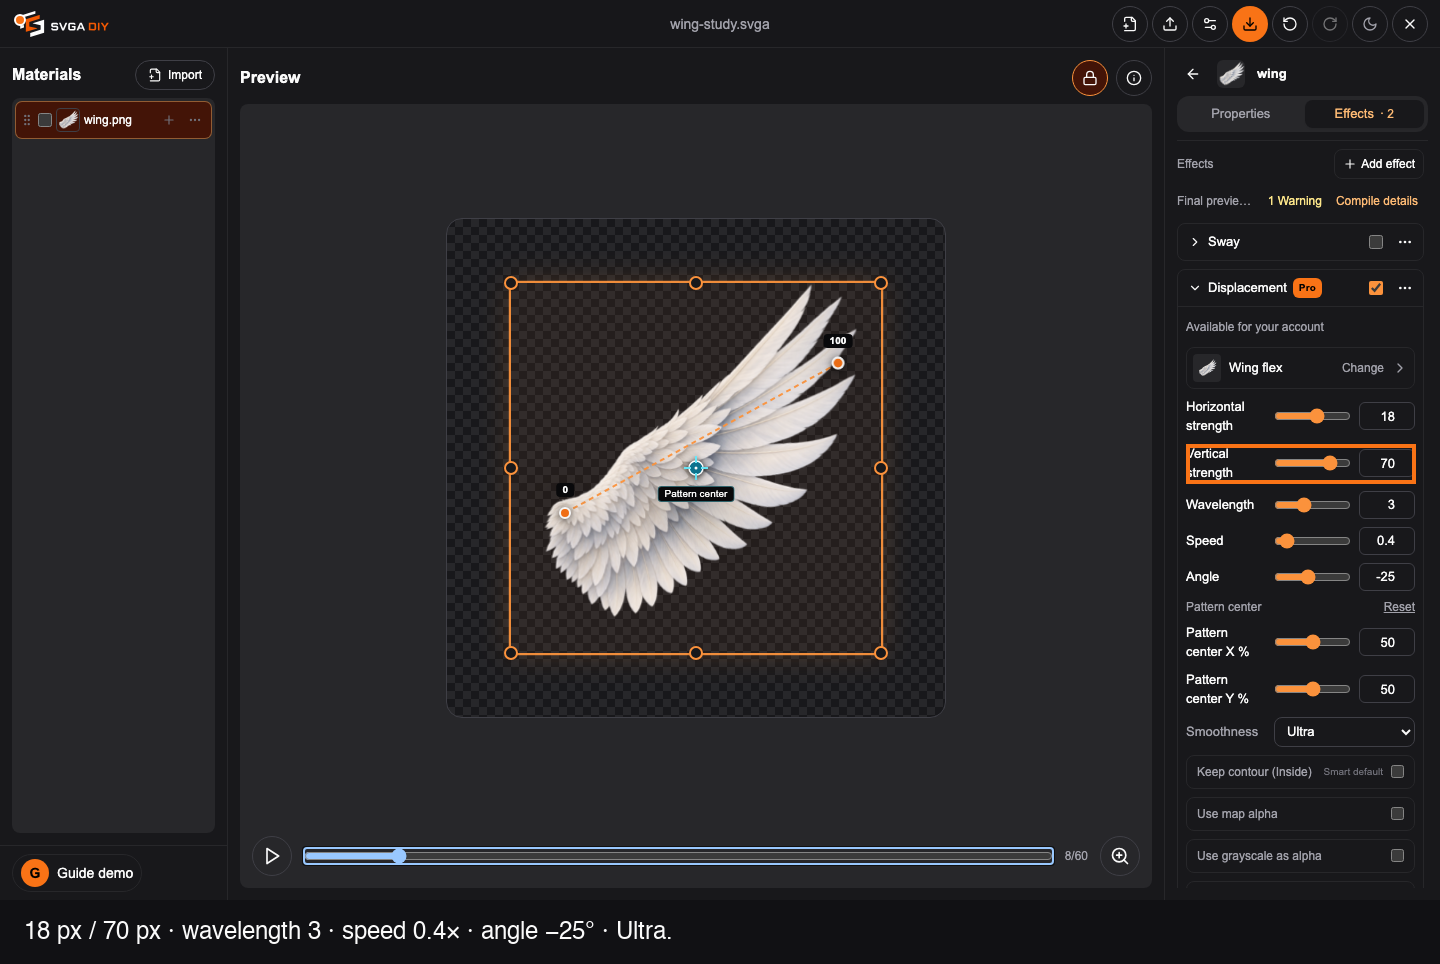
Wait for Final preview ready, then play several loops. Check the root, the long feather tips, and the transition back to the beginning. If your result looks rubbery, reduce Vertical strength first. If it looks like several small waves, increase Wavelength. Keep every moving tip inside the canvas.
For an A/B check, disable Displacement before re-enabling Sway; reverse those switches to return to Wing flex. Enabling both stacks the effects and no longer shows the comparison above.
9. Review the export, then reopen it
Click Export. Displacement opens Export check, which shows the generated images, playback memory and diagnostics. Keep the default Per-frame clip path export profile for this example.
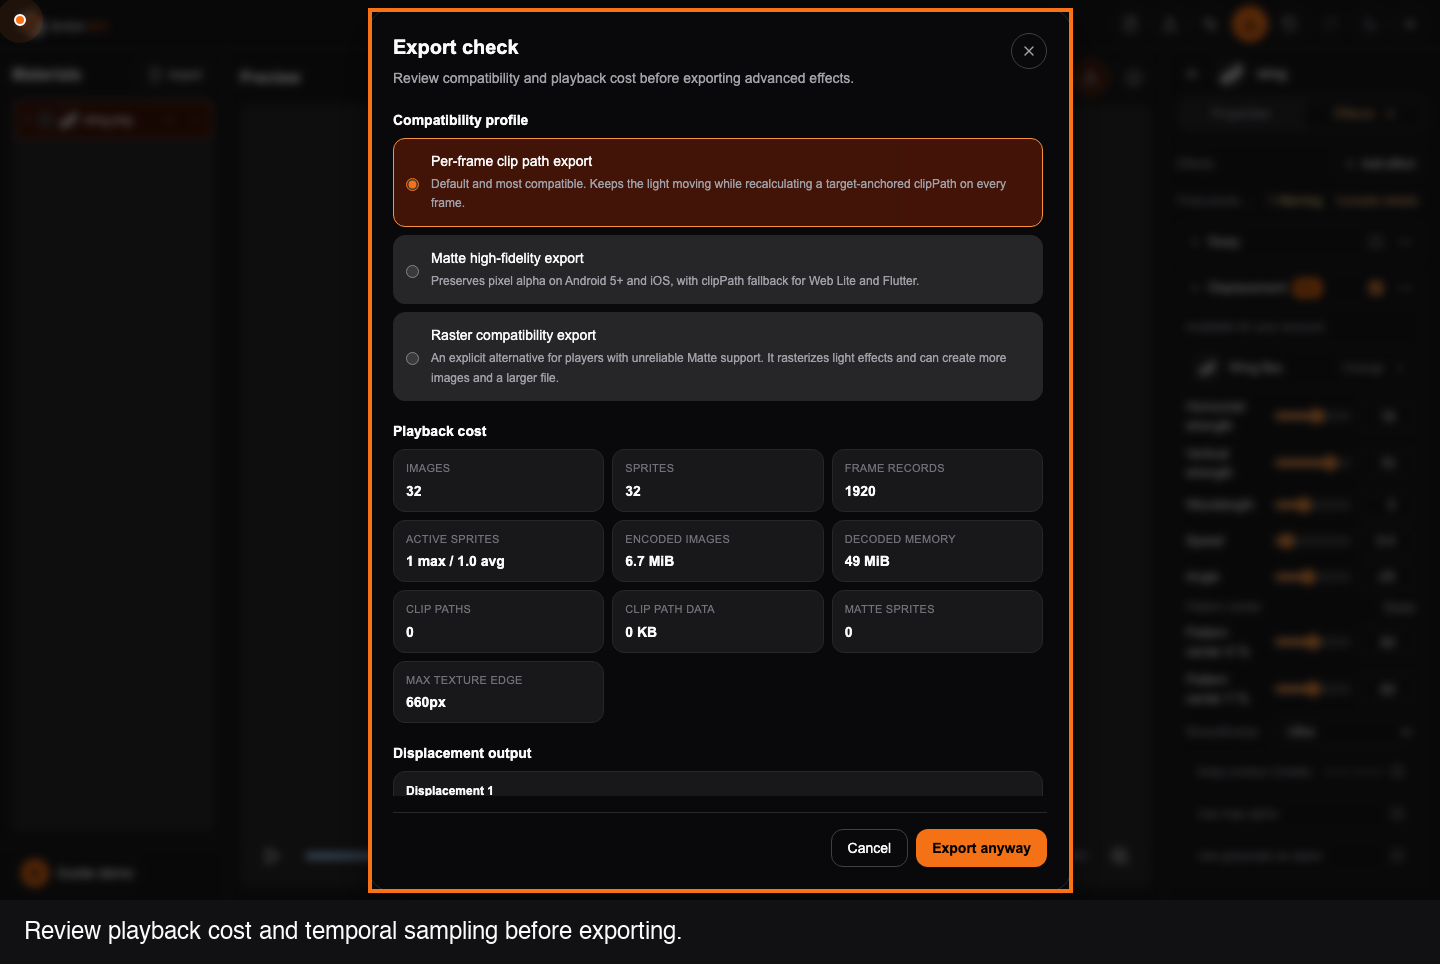
This example still reports Temporal aliasing at Ultra. That means the selected sampling budget has not met the compiler's temporal-error target; Final preview ready does not mean warning-free. Inspect playback at the intended size. For stricter motion quality, reduce the displacement strengths and check again. If you accept the reviewed result, click Export anyway.
Displacement is baked into ordinary SVGA image frames. It can increase file size and decoded memory substantially compared with Sway, which changes transforms without generating a new set of images. If the decoded-image limit blocks export, use a smaller source PNG or reduce displacement complexity; changing only Scale X/Y is insufficient.
Reopen the downloaded file in SVGA Preview to check the exported loop. Keep the PNG and the settings above if you want to rebuild or retune the effect later.